A package to provide extended functionality for the beautiful thedevdojo/chatter forums for Laravel
marcusyan/chatteradmin is a Laravel package for a package to provide extended functionality for the beautiful thedevdojo/chatter forums for laravel.
It currently has 0 GitHub stars and 6 downloads on Packagist.
Install it with composer require marcusyan/chatteradmin.
Discover more Laravel packages by marcusyan
or browse all Laravel packages to compare alternatives.
Last updated
Quick Note: This is package builds upon the thedevdojo/chatter Laravel forum package. Therefore, make sure you install it and configure it as needed. https://github.com/thedevdojo/chatter#installation
Also, this package is tested on Laravel 5.7 so far. It could work with 5.6 and 5.5, but I haven't done the necessary tests
Include the package in your project
composer require "codiiv/chatteradmin"
Add the service provider to your config/app.php providers array:
If you're installing on Laravel 5.5+ skip this step
'providers' = [
    // ...
    Codiiv\Chatter\ChatterServiceProvider::class,
    // ...
]
Publish the Vendor Assets files by running:
php artisan vendor:publish --provider="Codiiv\Chatter\ChatterServiceProvider"
Now that we have published a few new files to our application we need to reload them with the following command:
composer dump-autoload
Run Your migrations:
NB: It is important to run the migrations so that you can set the super admin and other future features. This migration will create two additional tables on top of the ones created by the main thedevdojo/chatter
php artisan migrate
Quick tip: Make sure that you've created a database and added your database credentials in your .env file.
Lastly, CONFIGURE SUPER ADMIN account.
You can do this two ways
A) Run this command php artisan chatter:superadmin [email protected] replacing [email protected] by the email of the user you want to set as super admin. Note that you can only have one super admin.
IN a future version, we will add ability to have multiple admins, but the super admin role will remain one user
OR
B) - Once you have run php artisan migrate , look for the table *chatter_options and add a row with the following column values:
  option_name   >>  master_admin
  option_value  >>  USER ID for the super admin
  autoload      >> 1
  created_at    >> 2018-11-13 00:50:12  (or whatever)
  updated_at    >> 2018-11-13 00:50:12  (or whatever)

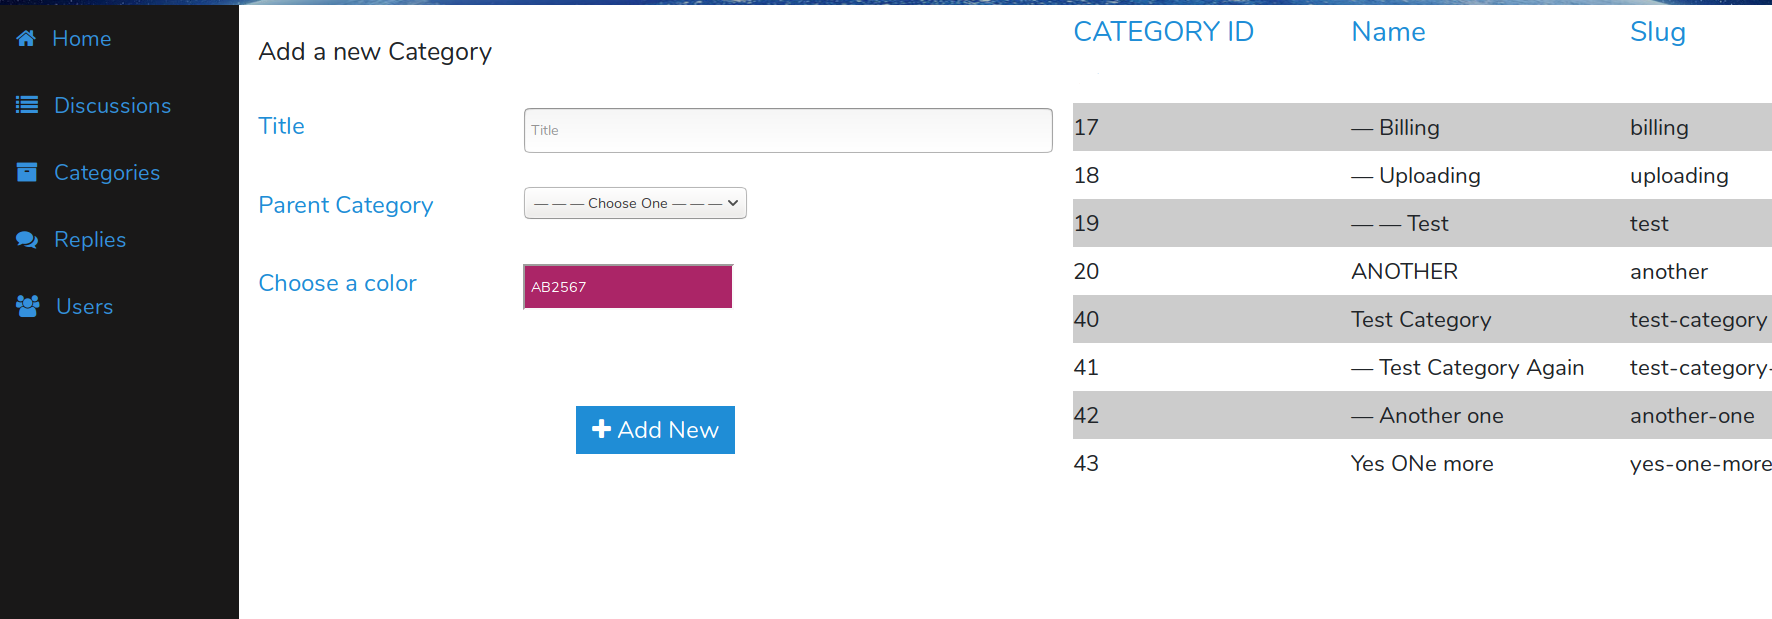
Now, visit your site.com/chatteradmin and you should see your new forum admin once logged in!
Coming soon